20+ Years Experience
Specialist Flat Roofing Installers
Enquire Today For A Free No Obligation Quote
Flat roof flashing is a crucial component in ensuring the longevity and durability of your roof.
This comprehensive guide covers the different materials used for flat roof flashing, the benefits of proper roof flashing, and the step-by-step process for installation.
We explore various options from lead flashing to rubber membrane flashing.
Whether you are preparing for flat roof flashing installation or ensuring proper adhesion and waterproofing, this article offers all the information you need to protect your roof.
Get in touch with our team today for more information on Flat Roof Flashing Materials.
Learn about the materials and installation process of flat roof flashing in this comprehensive guide.
Flat roof flashing plays a crucial role in preventing water leaks and ensuring the durability of your roofing system.
Typically made from materials such as aluminium, copper, or galvanised steel, flat roof flashing is designed to channel water away from areas vulnerable to leaks, such as roof joints, edges, and penetrations.
In terms of installation, precision and attention to detail are key. The process involves cutting the flashing material to fit the specific area, ensuring a snug and secure fit.
Next, the flashing is carefully secured in place using roofing nails or adhesive, forming a watertight barrier.
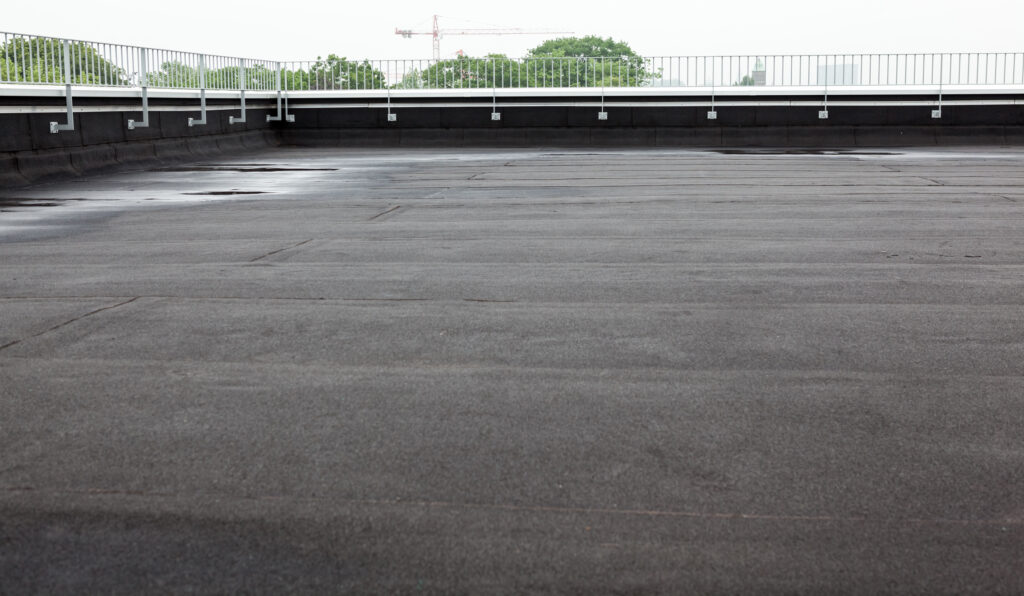
Flat roof flashing is a crucial component in ensuring the waterproofing and surface integrity of roofs.
Installed around roof protrusions such as chimneys, vents, and skylights, flat roof flashing serves as a protective barrier against water infiltration, snow, and debris build-up.
This essential feature directs water away from vulnerable areas, preventing seepage and potential structural damage in the long run.
Properly installed flashing can extend the lifespan of the roof and reduce the risk of leaks, mould growth, and rotting of underlying materials.
Plus its functional benefits, flat roof flashing also plays a role in enhancing the aesthetic appeal and overall durability of the roof system.
Proper roof flashing offers benefits such as water resistance, durable installation, and enhanced structural integrity.
Water resistance is fundamental in protecting your home from leaks and moisture damage.
Without adequate flashing, water can seep into the roof structure, leading to costly repairs and potential health hazards from mould growth.
The durability of the installation is crucial for the longevity of your roofing system. Well-installed flashing can withstand harsh weather conditions, preventing premature deterioration and extending the lifespan of your roof.
Enhanced structural integrity provided by correct flashing practices ensures that your roof stays strong and stable, capable of withstanding external forces such as wind uplift and heavy snow loads.
Various materials are used for flat roof flashing, including lead, rubber membrane, aluminium, steel, and copper.
Lead flashing is a traditional choice known for its durability and malleability, making it easy to shape and mould around complex roof angles and structures.
On the other hand, rubber membrane flashings offer excellent waterproofing properties and flexibility, ideal for areas prone to expansion and contraction.
Aluminium flashing is lightweight, corrosion-resistant, and cost-effective, commonly used in residential roofing applications.
Steel flashing is highly durable and strong, making it suitable for high-traffic roof areas or where extreme weather conditions are prevalent.
Copper flashing, prized for its aesthetic appeal and longevity, develops a protective patina over time, enhancing its resistance to corrosion.
Lead flashing is a popular choice due to its rust-resistant properties and effective sealant capabilities.
One of the key advantages of using lead flashing is its exceptional durability, making it ideal for long-term applications in various weather conditions.
Its natural resistance to corrosion ensures that it maintains its integrity over time, requiring minimal maintenance.
Plus its rust-resistant nature, lead flashing offers superior sealing properties, effectively preventing water penetration and safeguarding structures against moisture damage.
Roofers and builders often prefer lead flashing due to its flexibility, allowing for ease of installation around intricate roof features, such as chimneys and skylights.
Rubber membrane flashing, such as EPDM Rubber Flat Roof Solutions, provides a waterproof and BBA Certified option for flat roof installations.
EPDM rubber membrane flashing is highly regarded for its durability and resistance to extreme weather conditions, making it an ideal choice for long-term weatherproofing.
It offers seamless protection against water infiltration, preventing leaks and moisture damage in buildings.
In terms of certification standards, EPDM rubber membranes usually meet the stringent requirements set by organisations like the British Board of Agrément (BBA) for quality assurance.
This ensures that the product has undergone rigorous testing and complies with industry standards.
One of the notable advantages of EPDM Rubber Flat Roof Solutions is their versatility.
Not only are they suitable for flat roofs, but they can also be used in various applications such as green roofs, balconies, and even pond liners.
This versatility makes them a popular choice among architects, contractors, and building owners.
Proper preparation is essential for successful flat roof flashing installation, ensuring waterproofing and surface integrity.
Before installing flat roof flashing, it is crucial to assess the condition of the surface thoroughly.
Check for any damage, cracks, or areas that may compromise the integrity of the flashing. Repair any issues found to create a solid foundation for the installation.
Preparing the roof deck is fundamental for flat roof flashing installation, involving waterproofing and base flashing techniques.
Installing drip edge trim is a critical step in flat roof flashing, enhancing surface waterproofing and protection.
In terms of protecting your roof from water damage, the drip edge trim plays a crucial role in directing water away from the edge of the roof, preventing potential leaks and structural issues.
Made from durable materials such as aluminium or galvanized steel, these trims are available in various sizes to suit different roof dimensions, providing a tailored fit for optimal function.
Proper installation of the drip edge trim involves securing it along the roof edge before the underlay and tiles are added.
This ensures a sealed barrier that effectively diverts water away from vulnerable areas, promoting longevity and structural integrity for your roof.
Preparing the wall upstand is crucial for flat roof flashing, involving specific techniques for waterproofing and sealant application.
In terms of ensuring a waterproof seal on a flat roof, the wall upstand plays a key role in preventing water infiltration.
Properly preparing the wall upstand involves carefully addressing potential areas of weakness and vulnerability, such as corners and joints.
Effective waterproofing techniques may include the use of specialised membranes or coatings designed to repel water and create a durable barrier against moisture ingress.
Sealant application methods should be meticulous, ensuring complete coverage and adhesion to the substrate for long-lasting protection.
Follow this step-by-step guide for installing flat roof flashing to ensure effective waterproofing and sealing.
Begin by thoroughly inspecting the roof surface to identify any existing issues or areas requiring repair before proceeding with the installation.
Clear the workspace and gather all necessary tools and materials including flashing, roofing cement, nails, and a caulking gun.
Next, start by installing the underlayment to provide an additional layer of protection against water infiltration.
Secure the underlayment properly, ensuring it is tightly sealed to prevent any water seepage.
Proceed to install the step flashing along the edges of the roof, ensuring each piece overlaps the next to create a tight seal. Use roofing cement to secure the step flashing in place.
Apply a bead of high-quality sealant along the edges and seams of the flashing to further enhance waterproofing. Smooth out the sealant to ensure proper coverage and adhesion.
Once all flashing and sealant applications are complete, perform a thorough inspection to check for any gaps, loose areas, or potential leaks.
Make any necessary adjustments or repairs before considering the installation complete.
The first step in installing flat roof flashing involves applying adhesive for proper waterproofing and installation stability.
Waterproofing is crucial to protect the structure from potential water damage, ensuring longevity and durability.
To achieve effective bonding, it is essential to use a high-quality contact adhesive specifically designed for roofing materials.
This type of adhesive creates a strong and long-lasting bond, capable of withstanding various weather conditions.
During the application process, make sure to clean the surfaces thoroughly to remove any debris or contaminants that could compromise the adhesion.
Apply the contact adhesive evenly on both the flashing and the roof surface, following the manufacturer’s instructions for proper coverage.
Proper handling and folding of the membrane are crucial for maintaining waterproof integrity and flexibility in flat roof flashing.
In terms of flat roof flashing, the membrane plays a significant role in preventing leaks and ensuring a durable roofing system.
Handling the membrane correctly not only enhances its waterproofing capabilities but also contributes to its overall longevity and performance.
By folding the membrane properly, you create tight, secure seams that effectively seal out water and protect the underlying structure from damage.
One of the key advantages of using rubber membrane materials is their exceptional elasticity and resistance to weathering, making them ideal for withstanding varying temperatures and environmental conditions.
Cutting and fitting flashing tape accurately is essential for ensuring waterproof sealing and proper sizing in flat roof flashing.
In terms of flat roof flashing, the process of cutting and fitting flashing tape plays a crucial role in preventing water infiltration and maintaining the integrity of the structure.
One key aspect to consider is the material of the flashing tape, with options like butyl, EPDM, and aluminium available for different needs and budget constraints.
Ensuring proper sizing of the flashing tape is imperative to guarantee a tight seal and prevent any gaps that could compromise the waterproofing.
It is recommended to carefully measure and cut the tape to fit the specific dimensions of the flashing area before applying it.
Best practices dictate that the flashing tape should be securely adhered to clean and dry surfaces, using pressure to bond it effectively and eliminate any air pockets that could lead to leakage.
For a successful installation, following manufacturer guidelines and industry standards is paramount to achieve optimal waterproofing results.
Proper installation of the flashing material is crucial for long-lasting waterproofing and durable protection in flat roof flashing.
In terms of waterproofing, one key consideration is the selection of the flashing material.
Common choices include galvanized steel, copper, aluminium, or rubber. Each material has its own advantages and durability factors to account for.
The installation process typically involves carefully fitting and securing the flashing to areas vulnerable to leaks, such as junctions between the roof and walls or around chimneys.
Effective sealing techniques, like using caulk or sealant, are essential to prevent water infiltration.
Ensure proper adhesion and waterproofing in flat roof flashing for long-lasting durability and weather resistance.
Verifying the adhesion quality of flat roof flashing is crucial for maintaining its integrity and preventing leakage issues.
One effective technique is performing a pull test on the flashing material to check its bond strength to the roof surface.
In addition, using a primer before applying the adhesive can enhance the adhesion quality.
To ensure the waterproofing effectiveness, regular inspections should be conducted to identify any signs of wear, cracks, or gaps that may compromise the waterproof seal.
For long-term durability assurance, it is recommended to schedule routine maintenance tasks such as clearing debris from the roof, checking for any damage after extreme weather conditions, and reapplying sealant or coatings as needed.
By following these guidelines, you can maximise the lifespan of your flat roof flashing and protect your building from water infiltration and structural damage.
Checking and ensuring the dryness of adhesive is essential for maintaining weather resistance and installation integrity in flat roof flashing.
In terms of flat roof flashing, the dryness of adhesive plays a crucial role in the overall durability and effectiveness of the installation.
Properly dried adhesive ensures a strong bond between flashing materials and the roof surface, creating a barrier against harsh weather elements like rain, snow, and UV exposure.
By conducting regular checks to confirm adhesive dryness, you not only enhance the weather resistance of the flashing system but also ensure its long-term performance and reliability.
The integrity of the installation depends greatly on the adhesive being fully dry, as any moisture trapped beneath the flashing can lead to leaks, mould, and structural damage over time.
Thoroughly checking waterproofing quality is crucial in flat roof flashing to ensure effective moisture protection and flexibility.
Inspection techniques play a vital role in this process, involving a detailed examination of the seams, corners, and joints for any signs of wear or damage.
It is essential to look for punctures, cracks, or gaps that could compromise the waterproofing integrity.
In terms of flexibility, ensuring that the flashing material can withstand movements caused by temperature changes and building settling is key.
Flexibility considerations also include evaluating the material’s ability to expand and contract without cracking or losing adhesion.
Assessing moisture protection involves conducting water tests to verify the flashing’s ability to repel water efficiently and prevent leaks. This can include using simulated rainfall or moisture detectors to identify any areas of weakness.
We Aim To Reply To All Enquiries With-in 24-Hours